After an accident, most drivers immediately think about insurance claims and repair costs. But one step that often gets overlooked is proper auto body shop preparation. Taking a few simple steps before dropping off your vehicle can save time, reduce stress, and help your repair process move smoothly.
Whether you’ve experienced a minor fender bender or significant collision damage, knowing how to prepare your vehicle for vehicle collision repair helps protect you and ensures your body shop can get to work efficiently.
Here’s what you should know.
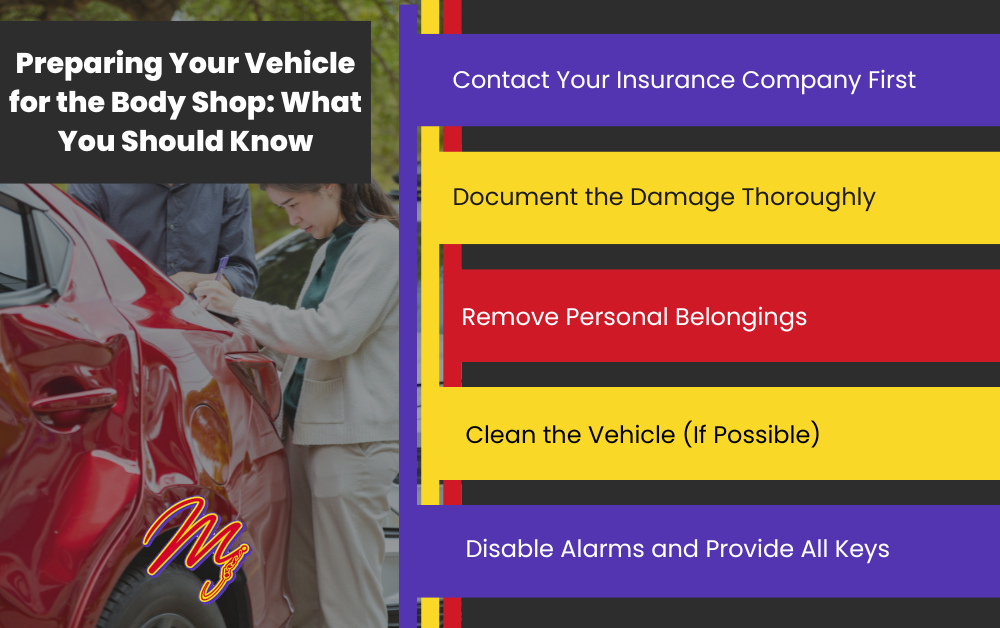
Step 1: Contact Your Insurance Company First
Before your vehicle ever reaches the body shop, start with your insurance provider.
Start the Claim Process
- Report the accident
- Obtain a claim number
- Confirm coverage details
Having this information ready prevents delays when your repair shop begins working with your insurer.
Understand Your Deductible
Make sure you know:
- How much you are responsible for paying
- Whether rental car coverage is included
- If there are limits on repair coverage
Clear communication up front eliminates surprises later.
Ask About Repair Shop Options
Some insurance companies suggest “preferred” shops. However, you typically have the right to choose your own collision repair facility. Selecting a trusted shop ensures your vehicle is repaired correctly.
Step 2: Document the Damage Thoroughly
Even if the accident was minor, detailed documentation protects you.
Take Clear Photos
Photograph:
- All exterior damage
- Interior damage
- The license plate
- The VIN (Vehicle Identification Number)
- The overall vehicle condition
Good documentation supports your claim and creates a record before repairs begin.
Note Mechanical or Safety Issues
If you notice:
- Warning lights on the dashboard
- Airbag deployment
- Fluid leaks
- Strange noises
Write them down and share that information with the repair team. These details are important during vehicle collision repair inspections.
Keep Copies of Reports
If law enforcement responded to the accident, keep a copy of the police report. Insurance companies and repair facilities may request it.
Step 3: Remove Personal Belongings
Body shops need full access to your vehicle. Before drop-off, clear out everything.
Clear Out the Interior
Remove:
- Important documents
- Electronics and chargers
- Tools
- Child car seats
- Work equipment
If repairs require interior panel removal or frame adjustments, technicians need open access.
Remove Valuables
Take out:
- Sunglasses
- Cash
- Garage door openers
- Parking passes
- Toll transponders
While reputable body shops protect vehicles, it’s always best to remove personal items beforehand.
Step 4: Clean the Vehicle (If Possible)
You do not need to detail your car, but a light cleaning helps.
Why Cleaning Helps
A clean vehicle allows technicians to:
- See damage clearly
- Identify scratches and dents
- Inspect paint damage accurately
Mud, dirt, and debris can hide structural or cosmetic issues.
Keep It Simple
A quick rinse or basic interior wipe-down is enough. There’s no need for professional detailing before auto body shop preparation.
Step 5: Disable Alarms and Provide All Keys
This step is small but important.
Provide All Necessary Keys
Make sure to include:
- Main ignition key
- Key fob
- Wheel lock key
- Spare key if available
If wheel or tire removal is needed during vehicle collision repair, a wheel lock key is essential.
Turn Off Alarm Systems
Disabling alarms prevents unnecessary disruptions while technicians are working.
What Happens During Vehicle Collision Repair?
Understanding the repair process helps ease anxiety about leaving your vehicle.
Initial Inspection
Technicians conduct a detailed damage assessment. This may include:
- Structural evaluation
- Frame inspection
- Hidden damage identification
An estimate is prepared and often reviewed with your insurance company.
Parts Ordering
Depending on the repair plan, parts may include:
- OEM (Original Equipment Manufacturer) parts
- Aftermarket parts
- Reconditioned components
Delivery times can affect overall repair timelines.
Structural and Cosmetic Repairs
Vehicle collision repair may involve:
- Frame alignment
- Panel replacement
- Dent repair
- Paint refinishing and color matching
- Safety system recalibration
Modern repair facilities use precise equipment to restore your vehicle to manufacturer standards.
Quality Control and Final Inspection
Before your vehicle is returned, technicians perform:
- Final inspections
- Safety checks
- Paint finish review
- Road testing if necessary
A reputable body shop ensures repairs meet quality standards before releasing your vehicle.
Questions to Ask Your Auto Body Shop
Being informed helps you feel confident in the repair process.
Consider asking:
- How long will repairs take?
- Do you provide a warranty on your work?
- Will you communicate directly with my insurance company?
- Are you using OEM parts?
- How will I receive updates during repairs?
Clear answers help you understand the process and timeline.
Common Mistakes to Avoid
Proper auto body shop preparation prevents these common issues:
- Dropping off your vehicle without documentation
- Forgetting to remove personal items
- Ignoring dashboard warning lights
- Choosing a repair shop based solely on price
Quality repairs protect your safety and your vehicle’s long-term value.
Final Thoughts
Preparing your vehicle before taking it to the body shop makes the entire process smoother. A few simple steps can reduce delays, protect your belongings, and ensure your vehicle’s collision repair moves forward efficiently.
Accidents are stressful enough. Being prepared helps you regain control and move forward with confidence.
If your vehicle needs professional collision repair, contact Matthews Garage to schedule an estimate and get expert guidance through every step of the process.
